Security Groups
Note
All incoming network traffic is blocked by default. In order to access you instance, you must apply a security group that allows SSH connections.
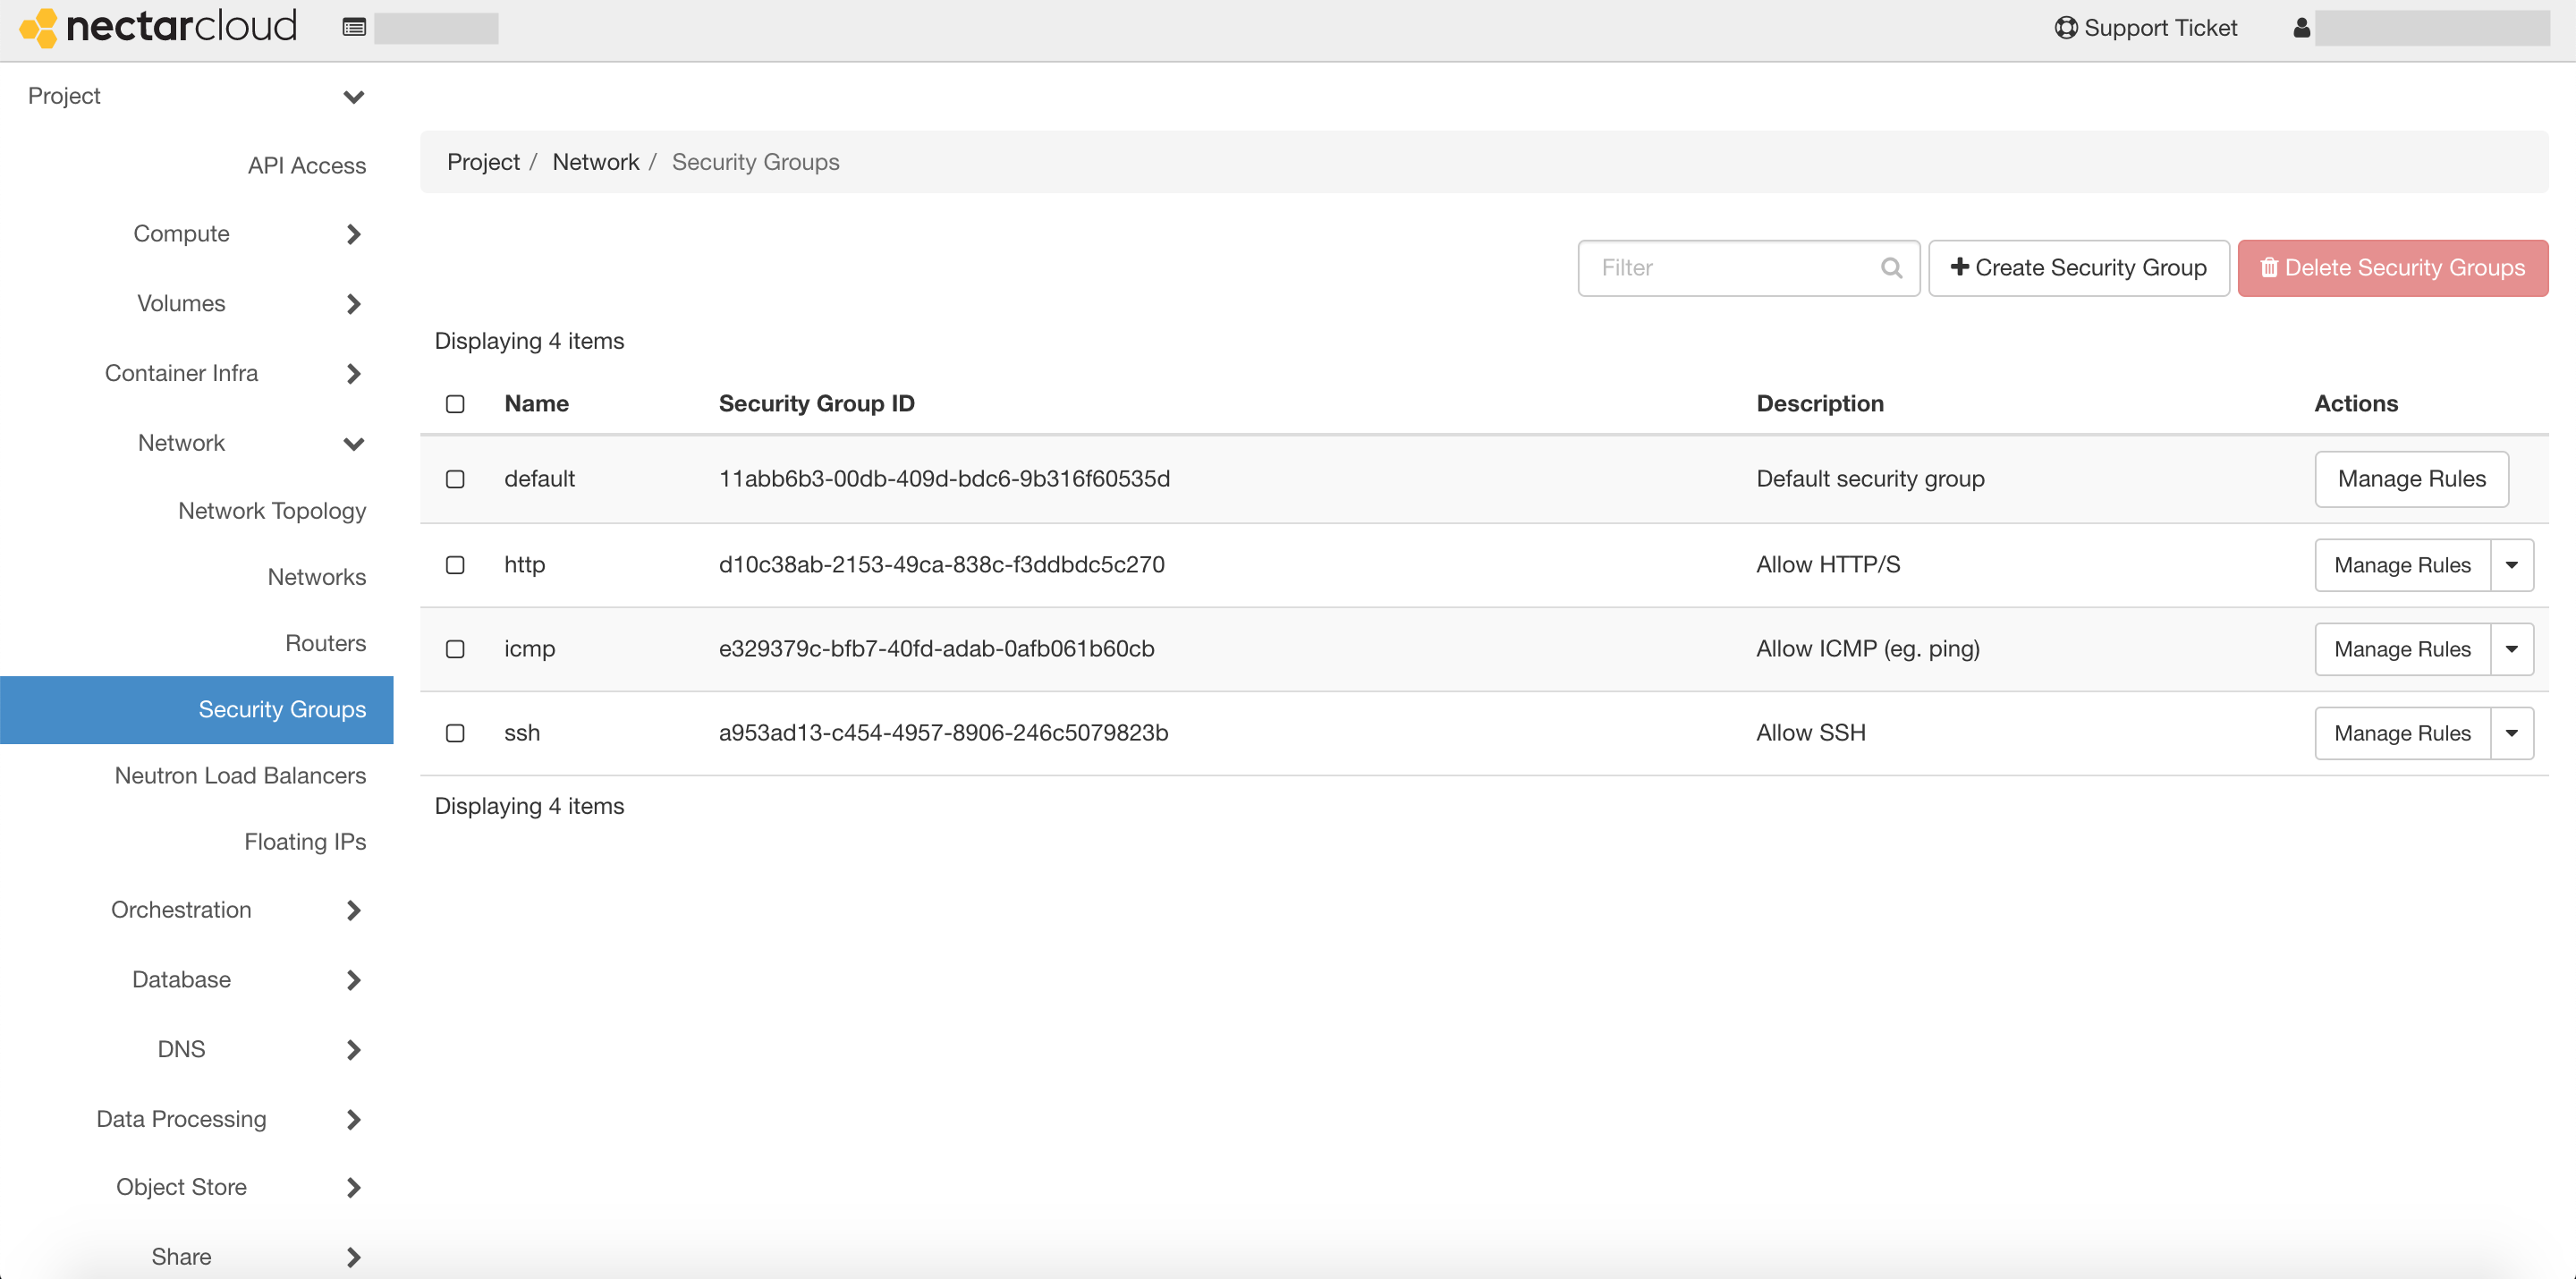
An SSH security group should already exist in your trial project. To check that it is there, click the Network tab on the left panel, and then select Security Groups.
You should see several items, including one named ssh.
If you do not see this, follow the instructions below to create a new security group that allows SSH connections. Otherwise you can continue on to the next step.
Creating a new security group
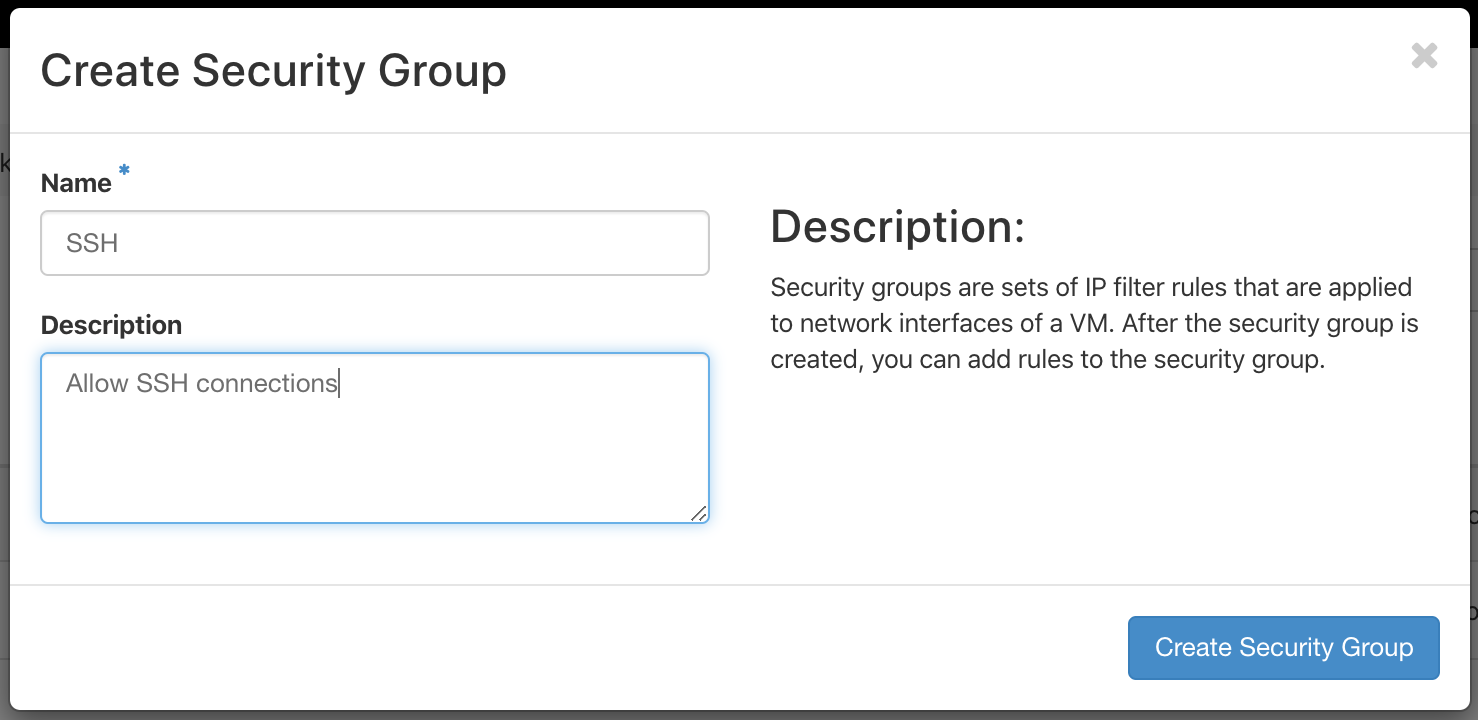
Select + Create Security Group. You will now be prompted to give your security group a name and description. Let's name it SSH with the description Allow SSH connections, and then click the 'create security group' button.
You'll notice that it already contains two rules. These allow outgoing (egress) network traffic i.e. they allow your instance to communicate to the internet.
We'll create a new rule which will also allow some incoming (ingress) network traffic.

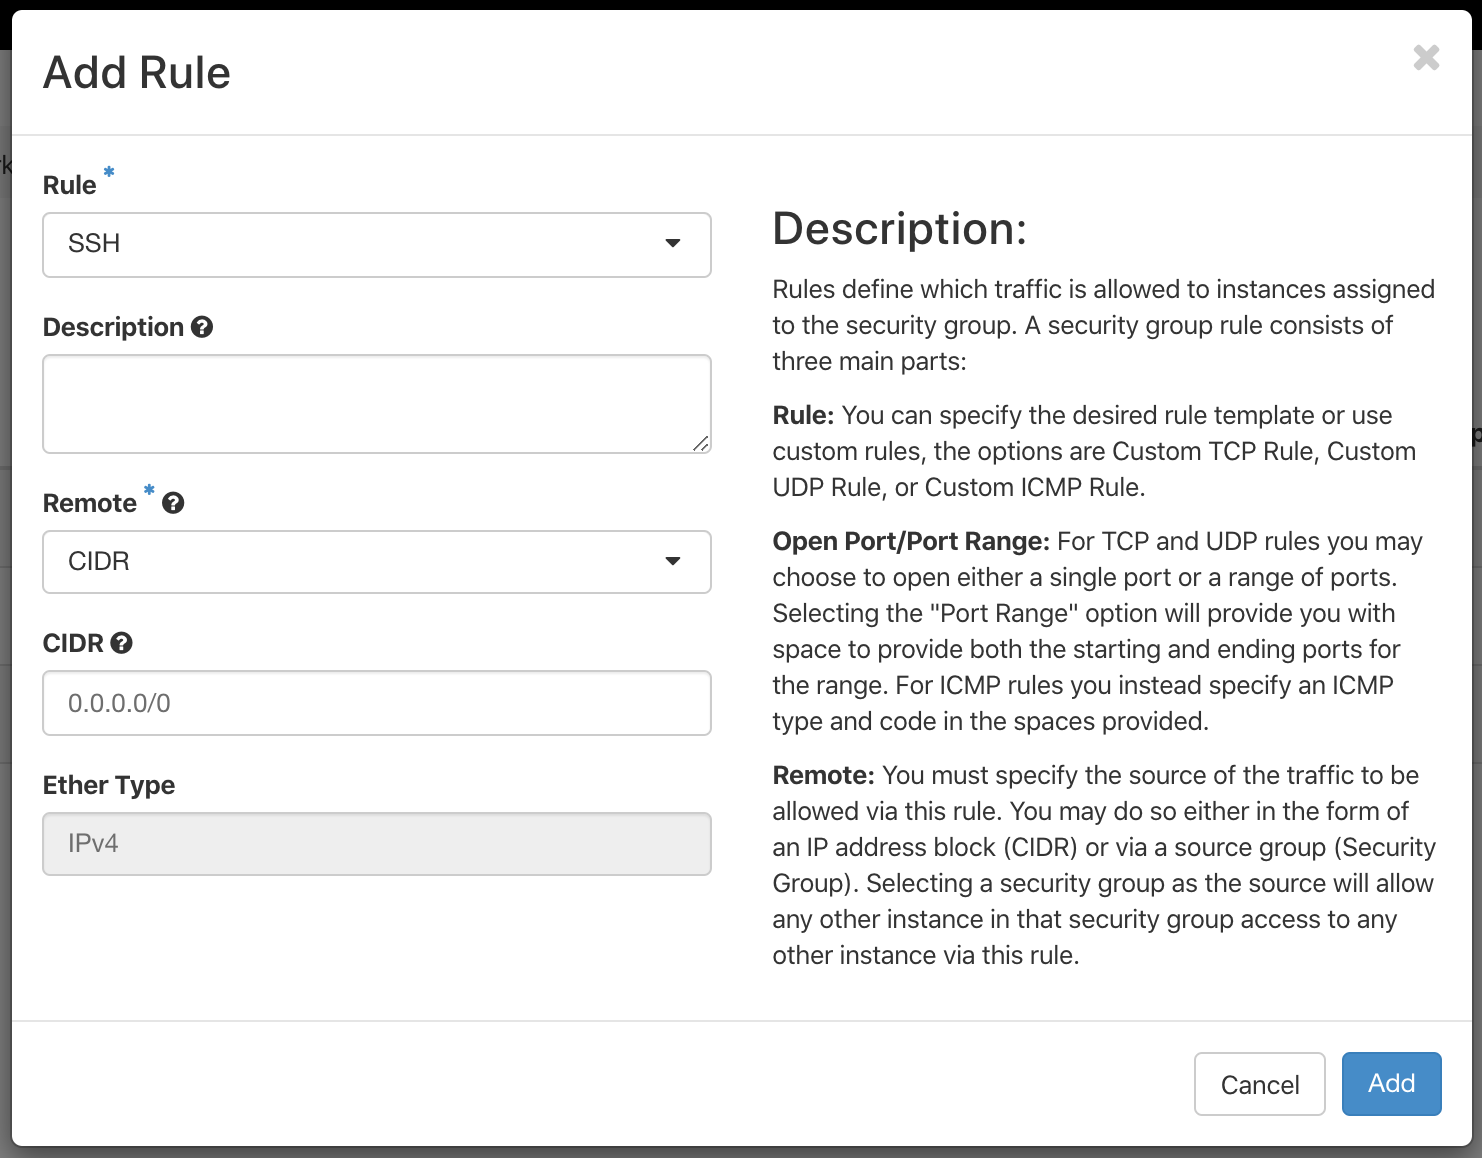
Click the + Add Rule button, then select SSH from the dropdown menu under Rule. You can give the rule a description, but we'll accept the defaults for the rest of the options, and then click Add to create the new rule.
Note
Setting CIDR (Classless Inter-Domain Routing) to 0.0.0.0/0 simply means that we allow connections from any IPv4 address.